When to Plant Garlic in Sydney — Warm Temperate Guide
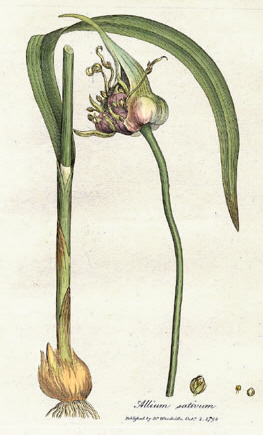
Photo: Wikimedia Commons
Garlic is one of the most rewarding crops for Australian home gardeners. Plant cloves in autumn, harvest in summer - it practically grows itself. Variety selection is critical: softneck types for warm climates, hardneck for cold. Subtropical-specific varieties exist for northern growers. Home-grown garlic is vastly superior to imported Chinese garlic that dominates supermarket shelves.
Current Growing Conditions
Soil temperature: 12.6°C (optimal range: 5–20°C) ✓ Ready to plant
How to Grow Garlic in Warm Temperate Australia
When to Plant
March to May. Earlier for turban types, later for artichoke types. Sydney's mild winters suit a wide range of garlic types.
- Soil
- Well-drained, fertile sandy loam enriched with aged compost. Garlic absolutely demands good drainage - waterlogged soil causes bulb rot. Raised beds ideal in heavy clay areas. Do not add fresh manure at planting time.
- pH Range
- 6.0-7.0
- Sunlight
- Full sun (6+ hours). No shade tolerance - garlic needs maximum sun for bulb development.
- Spacing
- 15cm apart, 25cm between rows
- Watering
- Water regularly during active growth (autumn-spring) but reduce watering as leaves begin to yellow in late spring/summer. Stop watering 2-3 weeks before harvest - wet soil at harvest causes storage ro
Companion plants: Rose, Tomato, Beetroot, Lettuce, Chamomile, Strawberry
Avoid planting near: Peas, Beans, Asparagus, Sage
Warm Temperate Growing Tips for Garlic
Recommended Varieties
- Italian White (Artichoke)
- Printanor (Artichoke)
- Early Italian Purple (Turban)
- Australian White (Softneck)
- Glenlarge (Subtropical)
Key Challenges
- Rust in humid spring
- Choosing the right variety group
- Aphid-transmitted viruses
Pro Tips
- Sydney gardeners can grow both subtropical and artichoke types successfully
- Italian White is the most popular Australian-grown garlic variety for warm-temperate zones
- Printanor (French origin) is proving excellent in Australian conditions
Harvesting Garlic
When ready: Bottom 3-4 leaves brown and dried, top 4-5 leaves still green. This typically indicates 5-7 bulb wrappers remain (each green leaf = one wrapper). Do not wait until all leaves die - bulb wrappers deteriorate and bulbs split open. Dig one test bulb to check - cloves should fill the wrapper tightly with clear clove differentiation.
How to harvest: Loosen soil alongside row with garden fork, then gently lift bulbs. Do NOT pull by the stalk - it may break. Brush off loose soil but do not wash. Cure in a dry, shaded, well-ventilated area for 2-4 weeks until outer wrappers are papery and stems are dry. Trim roots and stalks after curing (or braid softneck types).
Supermarket Price
Current average retail: $33.53/kg (12-month range: $23.40–$70.00)
Grow your own and save on grocery bills.
Get the Full Interactive Guide
Track your garden, get real-time pest alerts, and plan around your zone's weather.
Open the planting dashboard Join Garden Buddy