A tour of My Garden
/my-garden/ is one long page with seven stacked sections. You add data top-to-bottom; the bottom sections populate themselves from what you’ve entered. Here’s what each section is for and how they fit together.
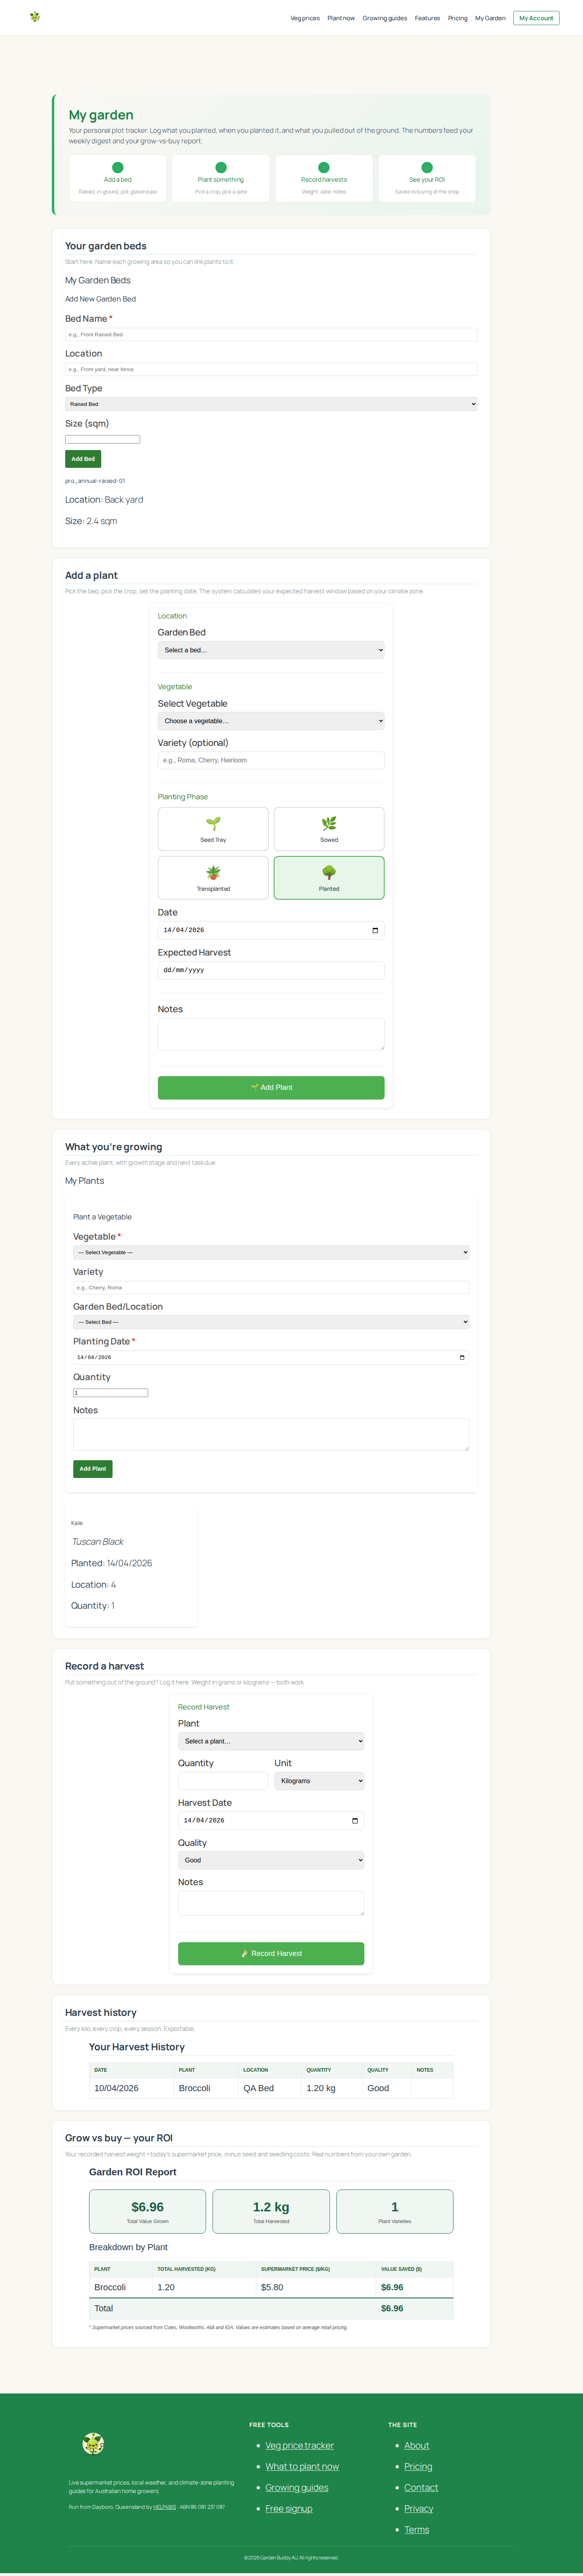
The seven sections
/my-garden/ is a single long page with seven stacked sections. You add data top-to-bottom; the lower sections populate themselves from what you’ve entered above.
| # | Section | Purpose | When you use it |
|---|---|---|---|
| 1 | Intro banner | Four-step flow reminder: bed → plant → record → ROI | Reference on every visit |
| 2 | Your garden beds | Lists beds + Add new bed form | Once at start; occasionally to expand |
| 3 | Add a plant | Form to put a crop in a bed | Each time you plant something |
| 4 | What you’re growing | Live list of active plants with stage + next task | Reference as you check plants |
| 5 | Record a harvest | Form to log what you pulled out today | Each time you pick |
| 6 | Harvest history | Full table of every harvest; sortable, filterable, exportable | Reference, end-of-season review |
| 7 | Grow vs buy, your ROI | Dollar value of harvests at current shop prices | Motivation, decision-making |
The flow, first day vs typical week
First day
- Add 1–3 beds (section 2)
- Add 3–5 plants across those beds (section 3)
- Sections 4–7 show empty, correct, you haven’t grown anything yet
Typical week 8 onwards
- Glance at section 4 for plants coming up for harvest
- If you picked today, record it in section 5
- Section 6 updates with the new harvest
- Section 7 ROI nudges up by today’s dollar value
Section-by-section reference
1. Intro banner
The hero block at the top is a four-step recap:
- Add a bed (raised, in-ground, pot, or glasshouse).
- Plant something (pick a crop, pick a date).
- Record harvests (weight, date, notes).
- See your ROI (saved vs buying at the shop).
Stays on the page even after you have data, a useful reminder if you skip months and forget the flow.
2. Your garden beds
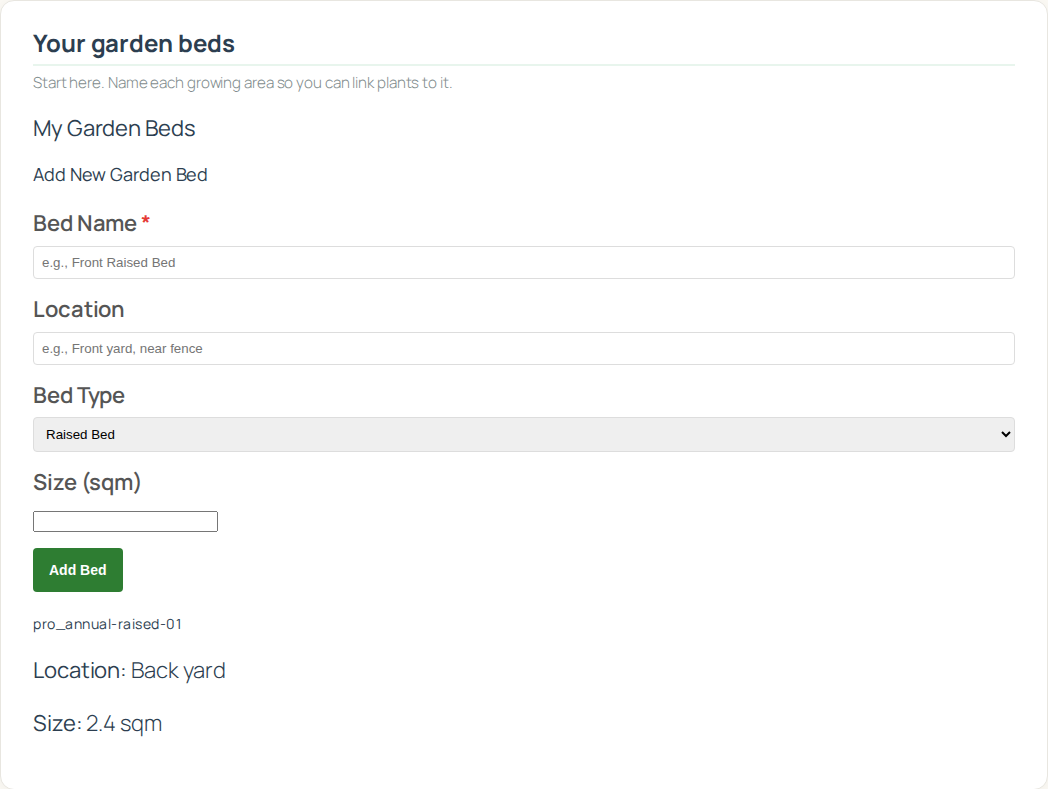
The bed list lives at the top because everything else needs a bed to attach to. Plants live in beds; care events tag a bed; harvests reference the plant which references the bed.
Add bed form: name (required), location (optional), type (Raised / In-ground / Container / Greenhouse), size in square metres (optional). Full bed page coverage.
3. Add a plant
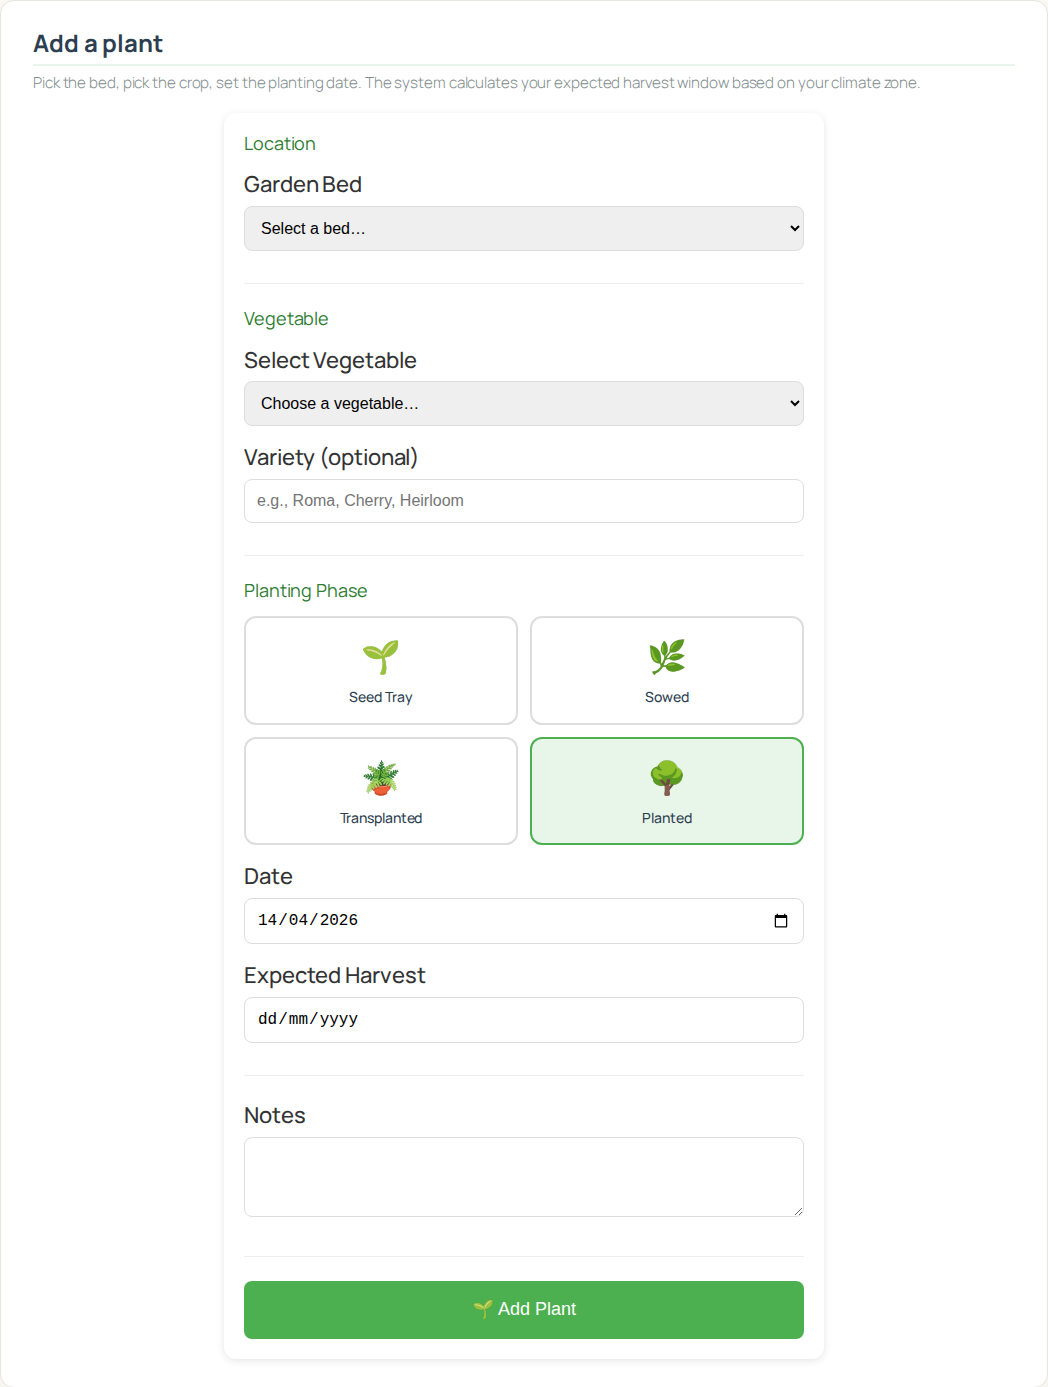
The plant form has a vegetable dropdown of all 100+ crops in our catalogue, and a bed dropdown populated from beds you created in section 2. Pick both, set a planting date, optionally add variety and notes, click Add Plant. Full detail.
4. What you’re growing
Live list of your active plants. Each card shows crop name, variety, bed, planting date, days in ground, growth stage (seedling / growing / flowering / harvest), and the next task due (water / feed / harvest / pest check).
Plants you’ve marked archived (pulled out, end of season) don’t show here, they only appear in your harvest history.
5. Record a harvest

Pick the plant, type the weight in grams or kilograms, pick the date, optionally add quality and notes, click Log Harvest.
6. Harvest history
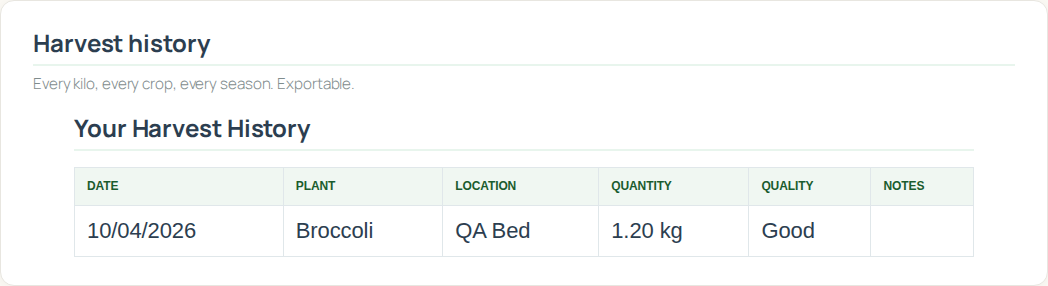
Sortable, filterable, exportable. Source of truth for the ROI calculation in section 7.
7. Grow vs buy, your ROI
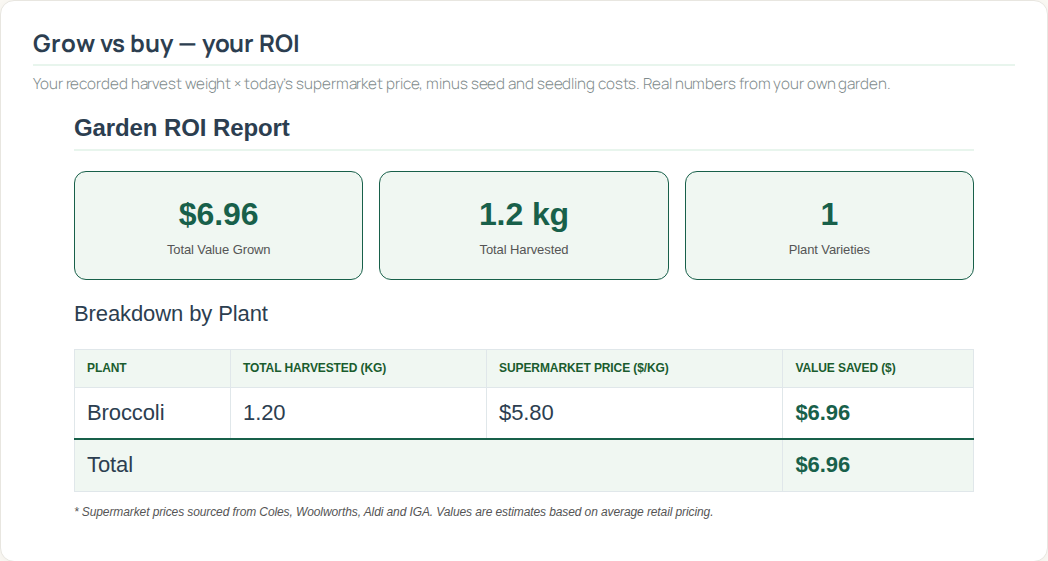
Three top-level KPIs (total $ grown, total kg, plant varieties) followed by a per-crop breakdown table. Each row: weight harvested, today’s average shop $/kg, value grown. Honest disclaimer at the bottom about crops with thin price data (kale, silverbeet, bok choy sold by bunch).
Access control
/my-garden/ requires an active paid membership (Starter or Pro). Free-tier users and anonymous visitors are redirected to the Membership Levels page.
Per-user data isolation is enforced at the database query level, every SELECT on the garden/bed/plant/harvest/care/pest tables includes a WHERE user_id = $current_user_id clause, with JOIN checks across the relationship chain. There is no path where user A’s data could render in user B’s view.
Next: the actual work, adding your first garden bed.