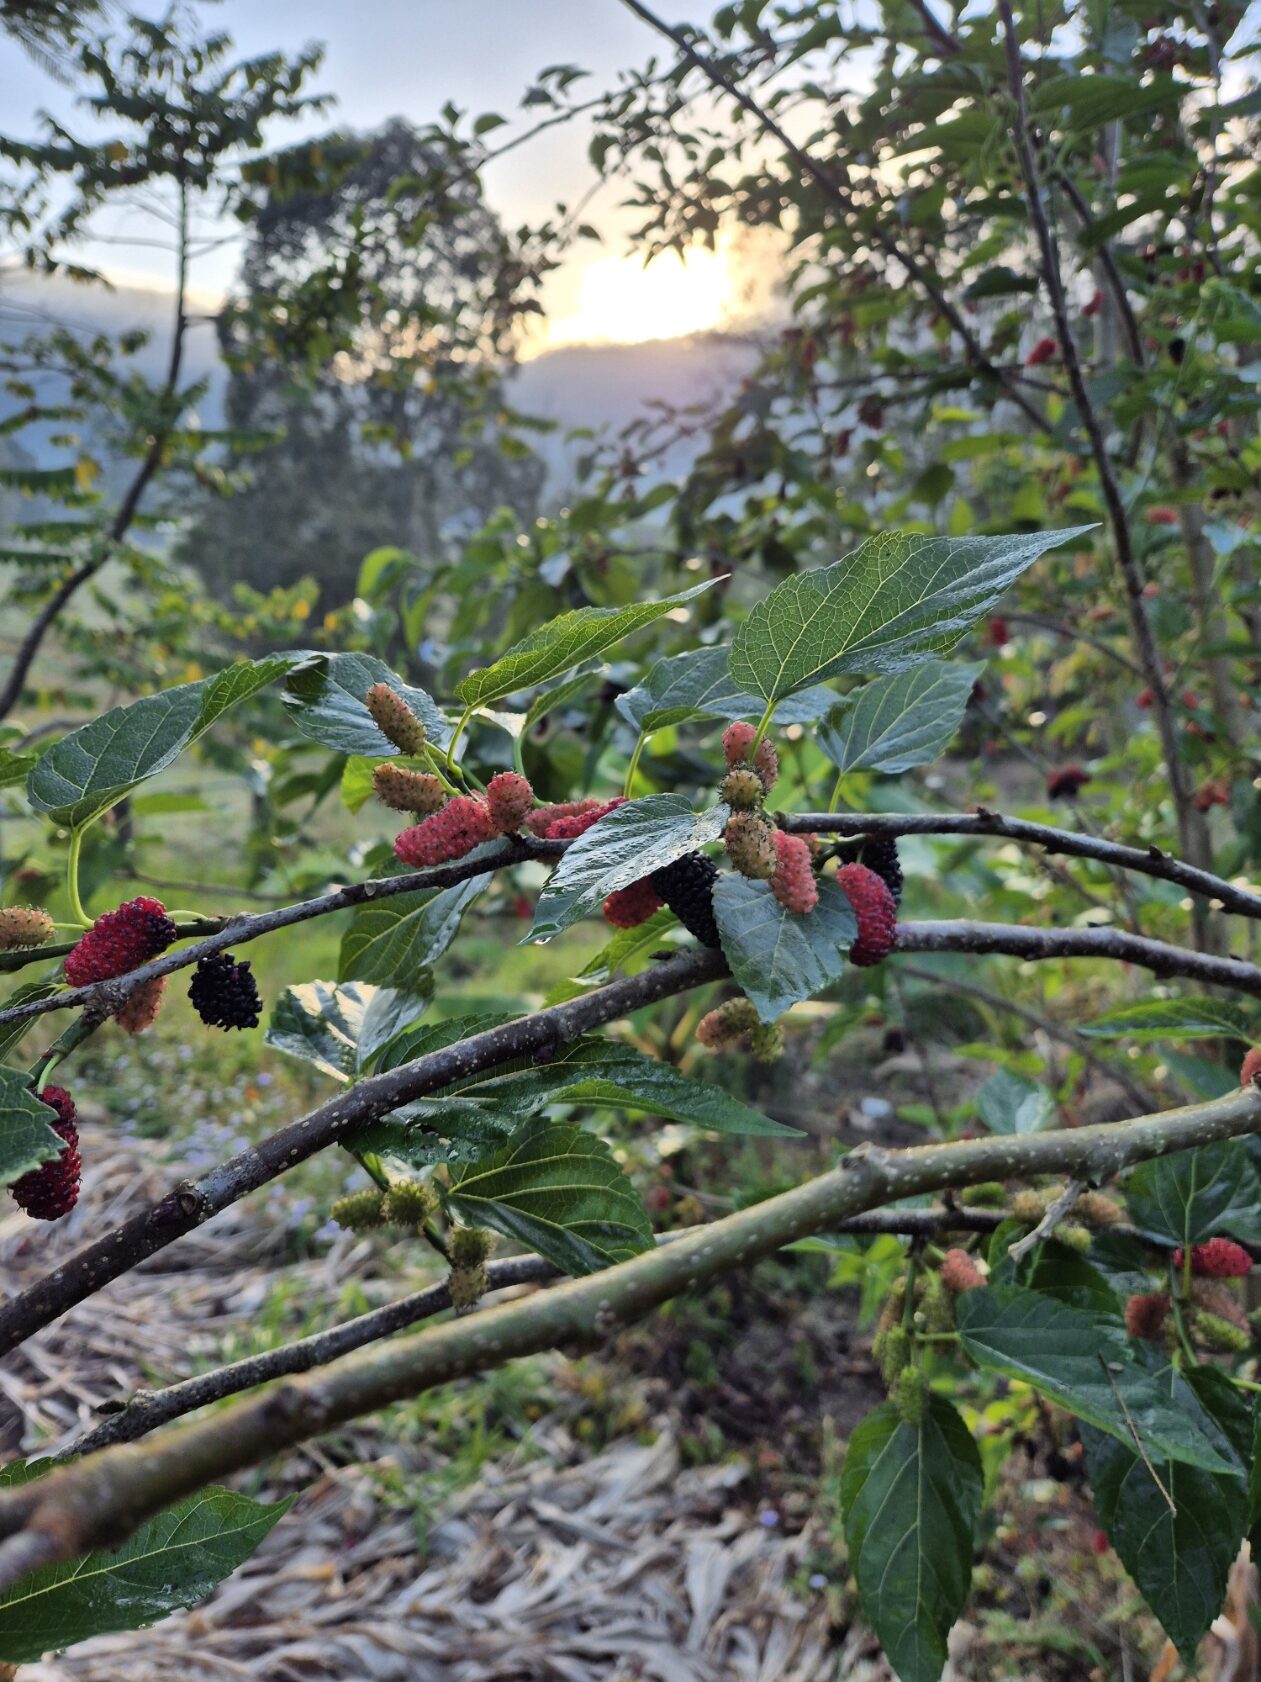
There is a moment in the life of a banana bunch where about twenty minutes of work changes the outcome by a quarter. It arrives shortly after the last hand of fruit has set, and it is easy to miss because the bunch looks like it is getting on fine by itself. The bunch in the photograph below is sitting right in that window.

Reading it top to bottom: the hands have set and the bracts have lifted, the fingers are pointing upward, each tip still carries the dried brown remnant of its own flower, and the purple bell is still attached at the bottom of the stalk and still working. That last detail is the actionable one, and I will come back to it. First, the thing that explains everything else about how a banana behaves.
It is not a tree, and the stem is going to die
A banana is a herb. It is in fact the largest herbaceous flowering plant on earth, and what looks like a trunk is not woody at all. It is a pseudostem, a tight cylinder of overlapping leaf bases wrapped around each other. Cut one and you will see it, layered like an onion, wet the whole way through. The actual stem of the plant is the corm, sitting underground.
This matters because of what comes next. Each pseudostem flowers once, fruits once, and then dies. There is no second crop from that stem, no matter how healthy it looks or how well you feed it. The plant continues through suckers thrown from the corm, and the whole art of growing bananas at home comes down to managing that succession rather than managing individual stems.
Get that wrong and you end up with a congested clump of a dozen thin pseudostems, all competing, none of them ever producing a decent bunch. That is the single most common failure in backyard bananas and it is entirely avoidable.
Parent, follower, grandchild
The system that works is simple. At any time you keep three generations and no more: the parent that is currently carrying or about to carry a bunch, one follower coming along behind it, and one small grandchild behind that. Everything else gets removed.
Choosing which sucker to keep is not arbitrary, because suckers come in two forms and only one of them is any good. A sword sucker has narrow, spear shaped leaves and a broad base, and it sits on a large corm. That corm is why it matters, because the corm is the food store the future plant draws on. A water sucker has broad leaves right from the start and a small corm. It looks healthier and more vigorous to the untrained eye, and it is the wrong one. It will produce a weak plant and a poor bunch.
So the rule is: keep the sword suckers, remove the water suckers. Queensland Department of Primary Industries guidance for subtropical growers adds a useful refinement, which is to keep the follower on the uphill side of the parent, and then take the next one on the uphill side of that. Doing it consistently in one direction stops the clump wandering across your garden over a decade, which they otherwise do.
Cutting a sucker off at ground level does not work on its own. It will simply reshoot, usually with two shoots instead of one. You have to destroy the growing point, which sits in the centre at the junction where the pseudostem meets the corm. Cut it off low, then gouge out that centre with a sharp tool. The commercial method is to follow the cut with a small amount of kerosene into the gouged centre, which kills the growing point outright. For a home clump, a thorough gouge repeated when it tries again will get there. Do this on a routine, roughly every four months, rather than waiting until the clump is a thicket.
The three jobs due on the bunch in that photo
1. Debelling
The purple bell hanging below the bottom hand is the male bud, and once the last hand of fruit has set it has finished doing anything useful. What it continues to do is consume. It is a large, actively growing organ competing with the fruit for the plant’s resources, and it is also a wet, nectar rich structure hanging directly beneath your crop, which makes it an attractant and a feeding site for insects, birds and flying foxes.
Remove it. The commercial standard is to cut the stalk to within about 100 mm of the lowest hand of fruit, after the last hand has set. Leave that 100 mm rather than cutting flush, because a cut made hard against the bottom hand can rot back into the fruit. Ladyfinger bells produce a great deal of nectar and are particularly attractive to flying foxes and birds, so if you are growing a Ladyfinger type this is worth doing promptly rather than eventually.
2. Trimming the bottom hands
This one feels wrong the first time you do it, because you are deliberately throwing away fruit. The logic is that in a subtropical climate the plant cannot fill every hand on a large bunch to a decent size, particularly through the cooler months when growth slows right down. You end up with a lot of small, poorly filled fingers instead of a smaller number of good ones.
Removing the bottom hands concentrates the plant’s effort into what remains, and it speeds the whole bunch up. The DPI subtropical guidance ranges from trimming half of the last hand on bunches emerging in winter, up to removing half the bunch on autumn emerged bunches, which works out at leaving roughly five to six hands on a Ladyfinger and seven to eight on a Cavendish type. Do it as soon as the bracts lift to reveal the bottom hand. One practical detail: leave a couple of fingers on the lowest remaining hand rather than cutting the stalk bare, for the same rot back reason as the bell.
3. Covering the bunch
A bunch cover is a simple open ended bag placed over the whole bunch, and it does more than most people expect. It protects the fruit from birds, flying foxes, insects, wind rub and sunburn. It also raises the temperature around the developing fruit, which in a subtropical winter is the difference between fruit that fills properly and fruit that stays dull and thin.
The commercial figure is worth quoting because it is larger than people assume: bunch covering can increase bunch weight by up to 25 percent, and combined with debelling it can bring the bunch to maturity up to two weeks earlier. For twenty minutes and a bag, that is the best return available anywhere in the fruit garden.
| Detail | What to do |
|---|---|
| When to apply | As soon as the first flower bract lifts, not after the last one |
| Where to secure | At the top only, a short way up the bunch stem, held clear of the top hand so water cannot pool on it |
| Hot months | Leave a two finger gap at the top so hot air escapes. Use a white cover |
| Cold months | Secure tightly for insulation. Use a pale green or yellow cover to hold warmth |
| Bottom of the bag | Leave open. Closing it traps moisture and falling bracts, which rot against the lower hands |
| Time to maturity | Roughly 3 to 7 months after covering, depending on temperature |
Write the date on the bag with a marker when you put it on. That single habit removes all the guesswork from harvest timing later, and it is the home garden version of the coloured bag coding that commercial growers use to track bunch age across a block.
Two small things in the photo, explained
The fingers point upward, and everybody notices this eventually. Bananas develop hanging downward from the stalk and then curve back up against gravity as they grow, which is negative geotropism. In the wild the ancestral species are pollinated by bats and birds, and turning the fruit up toward the light is thought to improve their exposure. Whatever the reason, an upward curving finger is a normally developing finger, and it is one of the visual cues for maturity: as the fruit fills, that curve gets more pronounced.
The dried brown wisps on each finger tip are the remains of the individual flower, the perianth. They dry, blacken and eventually fall off on their own. You do not need to remove them and picking them off can tear the fruit skin, which then scars. Leave them alone. In commercial packing they get brushed off at the shed, purely for appearance.
If you grow bananas at Dayboro, you are inside a biosecurity zone
This is not a technicality and most backyard growers have no idea it applies to them. I checked our coordinates against the Queensland Government spatial boundary layer directly, and Dayboro sits inside the Southern Banana Biosecurity Zone. The zone’s own description in the dataset is blunt about why it exists: “Biosecurity zone for bunchy top”. It has been in force since 1 July 2016 under the Biosecurity Act 2014.
Banana bunchy top virus is category 1 restricted matter in Queensland. There is no cure. An infected plant rarely fruits again and must be destroyed. It is spread by the banana aphid, which can carry the virus after about four hours of feeding and can fly up to 100 metres, and it is spread far more efficiently by people moving infected suckers around.
What this means for you in practice:
Do not accept a banana sucker from a friend, a neighbour, a market stall or a plant swap. It is illegal to move banana planting material out of a banana biosecurity zone without a biosecurity certificate, and suckers and bits cannot qualify for one. Certified plantlets from a Quality Banana Approved Nursery are the only clean, legal source. This is exactly how bunchy top has been spread for a century, one friendly gift at a time.
There is also a standing legal obligation in Queensland to keep vegetation within a 2 metre radius of a banana plant below 60 cm high, so that plant health inspectors can actually inspect it. Worth knowing before somebody points it out to you.
If you suspect bunchy top, do not cut the plant and do not move any part of it. Disturbing an infected plant sends the aphids looking for a new host. Ring the National Banana Bunchy Top Program on 1800 068 371 and they will come and deal with it. The service is free and they would much rather hear from you early.
Backyard growing itself is not restricted. Since the Biosecurity Act 2014 there is no limit on the varieties or the number of plants a home gardener may grow. The restrictions are about moving material, and about reporting.
Recognising bunchy top
Learn the symptoms, because early reporting is the whole game. The classic sign is on the leaf: dark green flecks in a dot and dash pattern, often described as Morse code, running along the midrib and the adjacent veins and then out across the blade. Hold a leaf up against the light and they are unmistakable once you know to look. There is also a characteristic hooked shape where the midrib meets the blade.
As it progresses the plant is stunted, and each new leaf comes out shorter and narrower than the last, standing more upright and crowded together, which produces the bunched appearance at the top of the plant that gives the disease its name. Leaf margins turn pale yellow and go wavy. Eventually the plant carries a skirt of dead leaves that stay attached.
One reason it spreads so effectively is the delay. Symptoms do not appear until the plant has produced two or more new leaves after infection, which takes about 19 days in summer but around 125 days in winter. A plant infected in autumn can look perfectly healthy right through until spring while aphids move on and off it.
Feeding, which is where most home bananas fall short
Bananas are hungry, and specifically they are hungry for potassium. Consider what the plant is doing: throwing up a several metre pseudostem, an enormous leaf area and 20 or 30 kilograms of fruit inside about a year, largely from scratch. That takes a lot of nutrient, and the demand peaks as the plant approaches bunching, precisely when the follower sucker is also being set.
The pattern that works is little and often for nitrogen, because nitrogen leaches readily out of the root zone in our rainfall. The commercial subtropical schedule is six to ten nitrogen applications a year in a non irrigated planting, applied in each month except winter provided there has been adequate rain since the last one. Potassium goes on three times a year, unless it is mixed with the nitrogen, in which case it goes on with it. Phosphorus, calcium and magnesium only need doing once a year.
There is minimal growth in a subtropical banana through those months, and consequently very little response to nitrogen or potassium applied then. You are feeding the soil biology and the leaching, not the plant. That winter window is however exactly the right time for lime or dolomite, which are slow to become available, so that calcium and magnesium are ready when spring growth starts. Broadcast it widely rather than dumping it at the base.
One more thing that trips people up: if water is the limiting factor, more fertiliser will not help. Fix the water first. As a rough guide, plant water needs run from about 50 litres per clump per week at establishment to 200 litres per clump per week at bunching, delivered in one or two waterings rather than a daily sprinkle. That is a lot of water, and it is the reason bananas are traditionally planted where the laundry outlet or the shower greywater goes.
The dead leaves, and a myth worth correcting
Standard advice is to strip a banana back to a tidy crown of green leaves. That advice is half right and the wrong half causes damage.
Removing genuinely dead leaves is worth doing, monthly, and it is easier to cut them while they are still turgid than once they are fully dry and papery. Dead leaf harbours fungal spores that drive leaf spot and speckle, and a heavy skirt of trash shades the corm, which slows the developing sucker and delays the next bunch. Take care not to cut into the pseudostem while you are doing it, because those wounds are entry points.
But the rule from the commercial guidance is specific: remove only leaves that are dead, or more than 30 percent affected by disease. Old leaves that are still green and healthy are still photosynthesising and still feeding the bunch, and stripping them, particularly in winter, stresses the plant. If you tidy a banana back to four pretty leaves you have just removed a large part of the machinery that fills the fruit.
The leaves you cut off should go straight back on the ground under the plant. Banana trash is excellent mulch, it protects the soil from raindrop impact, slows runoff, holds moisture, suppresses weeds and feeds the shallow root system as it breaks down. Do not cart it away.
Knowing when to cut the bunch
Bananas are harvested green. Not slightly green, properly green. The standard is that the fruit should be fully formed and well filled, but with some of the angular appearance still visible. Look at a finger end on. Early on the cross section is sharply triangular with distinct ridges. As it fills, those ridges soften and the section rounds out. You want to cut when it has rounded off substantially but has not gone completely round, roughly three quarters filled.
Fullness alone is not a reliable guide, because moisture stress, temperature and nutrition all affect how fast a bunch fills. Combine it with the age of the bunch, which is why the date on the bag matters. If any finger anywhere on the bunch starts to turn yellow on the plant, cut the whole bunch immediately. That fruit is telling you it has begun ripening, and once one finger goes the ethylene it releases will run through the rest of the bunch and you will have thirty kilograms of ripe banana at once, up a plant, in the sun.
To harvest, nick the pseudostem at about head height so the plant folds slowly and brings the bunch down under control rather than dropping it. This is a two person job on a full bunch, one to cut and one to take the weight. A full Cavendish bunch can be well over 30 kg and it will not be caught by surprise.
Once the bunch is off, that pseudostem is finished and it will die. But it is also a large reservoir of water and nutrient still connected to the corm, and the follower sucker draws on it. The commercial practice is to cut the spent pseudostem down to a height of about 1.5 to 2 metres and leave that standing to feed the ratoon sucker, rather than removing it entirely. Chop it right out and you throw away the resources your next bunch was going to use. Slash the standing remnant down later once it has collapsed and lay it out as mulch.
Ripening a bunch without ending up with thirty kilos at once
Bananas are climacteric, which is the opposite of the mulberries in the previous article. They generate a burst of ethylene after harvest that drives their own ripening, which is precisely why they can be picked hard green and still finish perfectly. It is also why a whole bunch tends to go at once.
The way to manage that is to break the bunch into hands and stagger them. Hang the bunch somewhere cool, shaded and airy, then cut off hands as you want them and bring those inside. A hand in a paper bag with a ripe apple or an already ripe banana will go in a couple of days, because you are adding ethylene. A hand left hanging in the cool and the moving air will take considerably longer. Between those two you can spread a single bunch over several weeks.
Never refrigerate a green banana
Bananas suffer chilling injury below roughly 12 to 13°C, and the damage is irreversible. The fruit gets peel browning and pitting, and critically it loses the ability to soften properly. You take it out of the fridge and it never ripens, it just goes grey and mealy and slightly bitter. Microscopy on chilled fruit shows vacuole collapse and mitochondrial swelling within hours.
A fully ripe banana can go in the fridge. The skin will blacken, which looks alarming and is only cosmetic, while the flesh holds for several more days. The rule is simple: ripen on the bench, refrigerate only after it is ripe, never before. The same threshold applies in the garden, incidentally. Sustained temperatures below 13°C cause chilling injury to fruit still on the plant, which is why bunches filling through a cold snap come out dull and thin, and why the bunch cover earns its keep in winter.
What is actually in a banana
Here is the USDA composition for raw banana, per 100 grams.
| Per 100 g raw | Amount | Note |
|---|---|---|
| Energy | 89 kcal | Denser than most fruit, mostly starch and sugar |
| Water | 74.9 g | Low for a fruit |
| Carbohydrate | 22.8 g | Shifts from starch to sugar as it ripens |
| Sugars | 12.2 g | Near zero when green |
| Fibre | 2.6 g | Plus resistant starch when underripe |
| Vitamin B6 | 0.37 mg | The genuine standout, around 22 percent of daily needs |
| Potassium | 358 mg | See below, this one is oversold |
| Magnesium | 27 mg | Respectable |
| Vitamin C | 8.7 mg | Modest |
| Folate | 20 µg | Useful |
| Sodium | 1 mg | Effectively none |
Bananas are the food everybody names when you say potassium, and by weight they are not especially high in it. At 358 mg per 100 g they are beaten by potato, sweet potato, avocado, spinach, white beans and dried apricots, several of them comfortably. A medium banana of around 118 g gives roughly 422 mg. Set against the NHMRC adequate intake for Australian adults, 3800 mg a day for men and 2800 mg for women, that is about 11 to 15 percent. Useful, not remarkable. The banana’s real advantages are that it is portable, needs no preparation, comes in its own wrapper, and is one of the easiest everyday sources of vitamin B6, which is involved in more than a hundred enzyme reactions including neurotransmitter synthesis. Those are good reasons to eat one. Potassium is not the headline it has been made into.
Green bananas are a different food
This is genuinely interesting and mostly overlooked. A green banana holds most of its carbohydrate as resistant starch, up to about 12 g per 100 g, with as little as 1 to 2 g of sugar. Resistant starch is not digested in the small intestine. It reaches the colon intact and is fermented by gut bacteria into short chain fatty acids, particularly butyrate, which is the preferred fuel of the cells lining the colon. It behaves as a prebiotic fibre rather than as a carbohydrate.
As the fruit ripens that starch converts to sugar and the resistant starch effectively disappears. A fully brown banana can carry 17 to 18 g of sugar per 100 g with essentially none left. This is also why glycaemic index for banana is quoted across such a wide range, roughly 42 to 58, because the number depends entirely on ripeness. If you are growing your own you have easy access to the green stage, which is exactly what nobody who buys them at the shop has. Green bananas cook like a starchy vegetable, boiled, fried or made into chips, and dried green banana ground into flour is a straightforward home project.
Preserving the glut
Freezing. Peel first, always. A frozen banana in its skin is unpeelable and the skin turns to slime on thawing. Peel, break into chunks, freeze on a tray in a single layer, then bag once solid. They keep about six months and are perfect for smoothies, ice cream and baking. Frozen banana blended on its own makes a genuinely good soft serve with no other ingredient.
Drying. Slice about 5 mm thick, dip briefly in lemon juice and water to slow browning, and dehydrate at 55 to 60°C. Take them to leathery for chewy chips or right through to brittle for crisp ones. Store airtight.
Freezing for baking. The simplest option of the lot. Once they are past eating, peel, mash, and freeze the mash in measured portions of the quantity your banana bread recipe calls for. Overripe fruit is better for baking than good fruit, so this converts your worst bananas into your best use for them.
Why growing your own is not a trivial thing
Almost every banana sold in Australia is a Cavendish, and every Cavendish is a sterile clone. Not a variety in the ordinary sense but a single genetic individual, propagated vegetatively, planted at global scale. That is why they are seedless, uniform and predictable. It is also a serious vulnerability, because a pathogen that can kill one can kill all of them, and there is no genetic variation for resistance to hide in.
This has already happened once. The export banana of the first half of the twentieth century was Gros Michel, and Fusarium wilt race 1 destroyed it. The industry survived by switching wholesale to Cavendish, which happened to be resistant to race 1, and then repeated exactly the same monoculture. Panama disease tropical race 4 attacks Cavendish. It ended commercial Cavendish production in the Northern Territory, and it was confirmed in a North Queensland plantation in 2015.
Which makes a backyard clump of something that is not Cavendish quietly worthwhile. Ladyfinger, Ducasse, Blue Java, Goldfinger and the rest are grown almost nowhere commercially, they taste distinctly different from each other, and they are exactly the diversity that a global monoculture has spent a century removing. That, and a home grown banana ripened on the plant to the point where the skin is freckling is a noticeably better thing than one gassed in a ripening room. Get the sucker from a certified nursery, not over the fence.
The short version
Each pseudostem fruits once and dies, so manage the succession: one parent, one follower, one grandchild, and remove the rest by gouging out the growing point. Keep sword suckers, not water suckers. Once the last hand sets, cut the bell off 100 mm below the bottom hand, trim the small bottom hands, and bag the bunch with the date written on it. Feed nitrogen little and often through the warm months, potassium three times a year, nothing from May to August except lime. Water hard, up to 200 litres a week at bunching. Only strip leaves that are dead or badly diseased, and leave the trash on the ground. Harvest green while the fingers still show some angle, cut the spent stem back to 1.5 to 2 metres rather than to the ground, and never put a green banana in the fridge. Source suckers only from a certified nursery, and ring 1800 068 371 if you ever see Morse code streaking on a leaf.
Garden Buddy, subtropical growing at Dayboro, QLD.