When to Plant Kale in Brisbane — Subtropical Guide
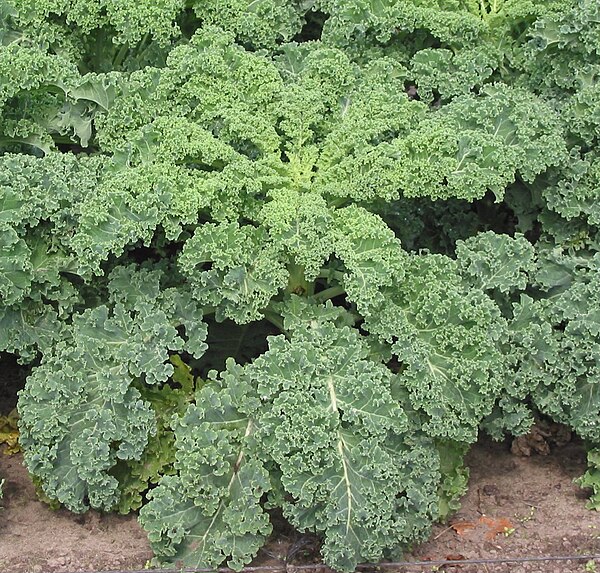
Photo: Wikimedia Commons
Kale is the toughest and most productive leafy green brassica, available in curly, flat (Tuscan/cavolo nero), and red Russian forms. It tolerates frost (which sweetens its flavour), handles some heat, and produces for 6-12 months with regular harvesting. A nutritional powerhouse and genuinely easy to grow compared to heading brassicas.
Planting Calendar
| Jan | Feb | Mar | Apr | May | Jun | Jul | Aug | Sep | Oct | Nov | Dec |
|---|---|---|---|---|---|---|---|---|---|---|---|
| — | — | S | S/D | S/T/D | T | T | — | — | — | — | — |
S = Seed Tray T = Transplant D = Direct Sow
Current Growing Conditions
Soil temperature: 16.2°C (optimal range: 5–30°C) ✓ Ready to plant
How to Grow Kale in Subtropical Australia
When to Plant
February-July (autumn-winter). Best planted March-April for strongest winter production. Summer growing is possible but quality drops.
- Soil
- Rich, well-drained soil with plenty of compost and aged manure. Tolerates a wider range of soils than heading brassicas.
- pH Range
- 5.5-6.8
- Sunlight
- Full sun in cool climates. Part shade (afternoon) in subtropical and warmer zones.
- Spacing
- 50cm apart, 60cm between rows
- Watering
- Deep watering 2-3 times per week. Consistent moisture produces tender leaves. Tolerates some drought but leaves toughen. Avoid overhead watering.
Companion plants: Onion, Garlic, Celery, Beetroot, Dill, Chamomile
Avoid planting near: Strawberry, Tomato, Other brassicas in immediate succession
Subtropical Growing Tips for Kale
Recommended Varieties
- Red Russian
- Nero di Toscana (Tuscan/Cavolo Nero)
- Curly Blue Scotch
- Siberian
Key Challenges
- Cabbage white butterfly active most of year
- Summer heat reduces leaf quality
- Aphid pressure in dry autumn
Pro Tips
- Kale is the best long-term brassica green for SEQ - one planting lasts 6+ months
- Net against butterflies from planting; it's the single best investment
- Harvest regularly from the bottom up; plants grow like palm trees over time
Harvesting Kale
When ready: Leaves are large enough to eat (15-20cm long for baby kale, 30cm+ for mature leaves). Dark green with firm texture. Lower leaves harvested first.
How to harvest: Snap or cut lower/outer leaves at the stem. Leave the growing tip and upper leaves to continue producing. Never harvest more than 1/3 of the plant at once. Twist and pull downward for clean removal.
Common Kale Pests in Subtropical Zones
Organic prevention: Net from planting. Companion plant with strong herbs. Regular inspection.
Get the Full Interactive Guide
Track your garden, get real-time pest alerts, and plan around your zone's weather.
Open the planting dashboard Join Garden Buddy